Installation Day:
Your Step-by-Step Guide to Nest Exteriors’ Professional Installation Process
At Nest Exteriors, installation day is the culmination of careful planning, expert craftsmanship, and detailed coordination. We’re committed to providing you with a smooth, stress-free experience and a home exterior that exceeds expectations.
Here’s a clear, step-by-step guide of what to expect when our professional team arrives at your home.
🕗 Step 1: Early Arrival & Setup
Our crews arrive promptly at the scheduled time, fully prepared to begin your project.
- Professional Introduction:
The project manager introduces the crew, confirms the day’s goals, and ensures everyone is aligned. - Site Protection:
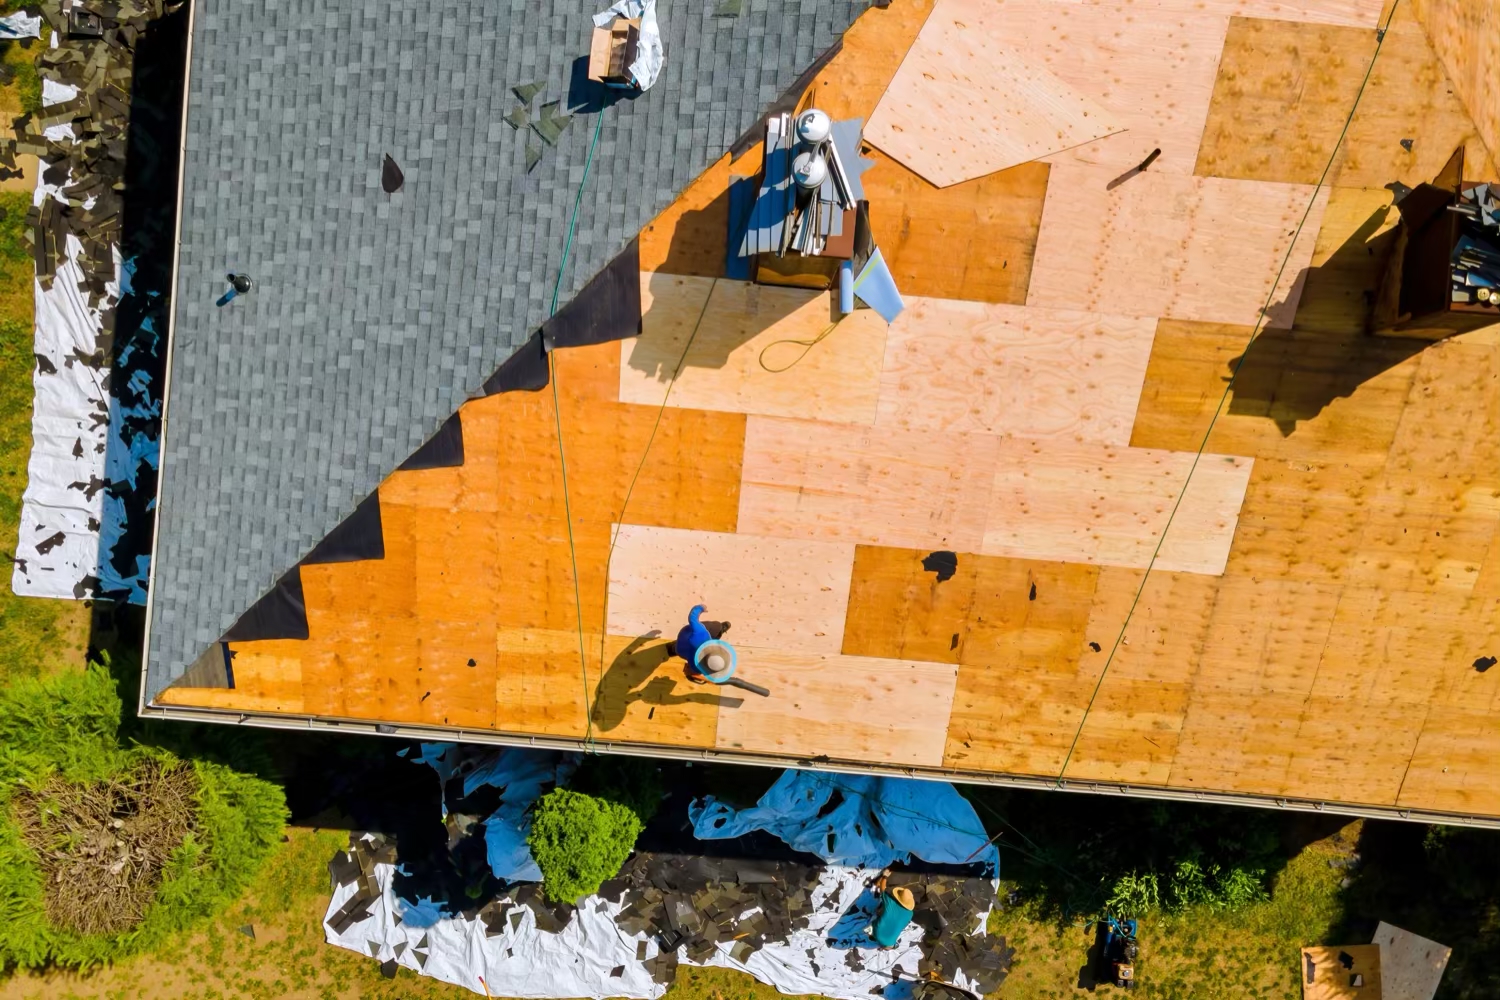
Before work begins, we take care to protect your property—laying down tarps, plywood, and coverings to shield landscaping, driveways, decks, and other structures. - Safety Protocols:
Our team sets up ladders, scaffolding, and safety equipment to ensure a safe, efficient workspace.
🏠 Step 2: Removal and Preparation
With your property protected, we begin by carefully removing your old roofing, siding, windows, or other exterior elements:
- Careful Tear-Off:
Old materials are removed safely and efficiently to minimize disruption and debris. - Inspection of Underlying Structure:
We thoroughly inspect the underlying structure, looking for any hidden damage or issues that require attention before new materials are installed. - Surface Preparation:
We address structural repairs, replace damaged decking, install underlayments, flashing, and other vital elements to ensure a flawless final installation.
🔨 Step 3: Expert Installation
Now comes the most transformative phase of your project:
Roof Installation:
- Starter Strip & Underlayment: Properly placed underlayment and ice-and-water shield form the first protective layer.
- Shingle Installation: Shingles (such as CertainTeed Landmark PRO) are precisely aligned, nailed securely, and installed according to manufacturer guidelines.
- Flashing & Ventilation: Flashing is carefully installed around penetrations, chimneys, skylights, and vents. Ridge vents or soffit vents are added to ensure proper attic ventilation.
Siding Installation:
- Weather Barrier & Insulation: We first apply weather-resistant barriers and insulation to maximize energy efficiency and moisture protection.
- James Hardie Siding: Fiber cement siding panels or planks are carefully aligned, secured, and finished to manufacturer standards.
- Trim & Details: Trim pieces, soffit, fascia, and corner details are meticulously installed, creating a seamless, polished look.
Windows & Doors:
- Precise Measurement & Fitting: Each window or door is installed precisely, ensuring airtight seals and flawless operation.
- Insulation & Sealing: Insulation, caulking, and flashing are expertly applied for superior thermal efficiency and weather-tightness.
Gutter Systems:
- Seamless Installation: Custom-sized gutters are precisely cut, formed, and installed for optimal drainage.
- Downspout Placement: Properly placed downspouts direct water away from your foundation, preventing water damage and erosion.
🧹 Step 4: Thorough Clean-Up
At Nest Exteriors, leaving your property spotless is just as important as a job well done:
- Debris Removal:
All removed materials are carefully collected and responsibly disposed of off-site. - Magnetic Sweep:
We conduct thorough magnetic sweeps of your yard and driveway to remove nails and metal debris, protecting your vehicles, pets, and children. - Final Inspection of Grounds:
Our project manager personally inspects your property, ensuring no materials or debris are left behind.
✅ Step 5: Final Walkthrough & Client Approval
Transparency and accountability matter to us—so we never leave without your full satisfaction:
- Detailed Project Walkthrough:
Our project manager walks you through the finished installation, explaining exactly what was completed, highlighting details, and confirming everything meets your expectations. - Warranty and Documentation:
We provide clear documentation about materials used, warranties (including our exceptional workmanship and manufacturer warranties), and maintenance recommendations. - Your Satisfaction Guaranteed:
We don't consider our job complete until you're completely satisfied, comfortable, and confident in your investment.
📞 Step 6: Ongoing Support & Peace of Mind
Installation day may be over—but Nest Exteriors’ support isn't:
- Follow-Up Checks:
Expect follow-up communications to ensure continued satisfaction and address any post-installation questions. - Long-Term Support:
Our commitment goes beyond installation—Nest Exteriors is always here for inspections, maintenance, repairs, and any future home improvement needs.
Why Homeowners Trust Nest Exteriors on Installation Day
Certified Expertise:
Our teams hold manufacturer certifications, ensuring precise, warranty-backed installations.
Safety and Efficiency:
We maintain strict safety standards and use efficient installation processes to protect your property and minimize disruption.
Transparent Communication:
Every step of installation day is clearly communicated to you—no surprises, only professionalism and respect.
Ready to Experience the Nest Exteriors Difference?
Your home deserves more than just professional installation—it deserves dedicated craftsmanship, exceptional care, and a stress-free experience. Discover why homeowners in Northern Virginia, Maryland, and DC trust Nest Exteriors.
Schedule Your Free Project Consultation Today


